
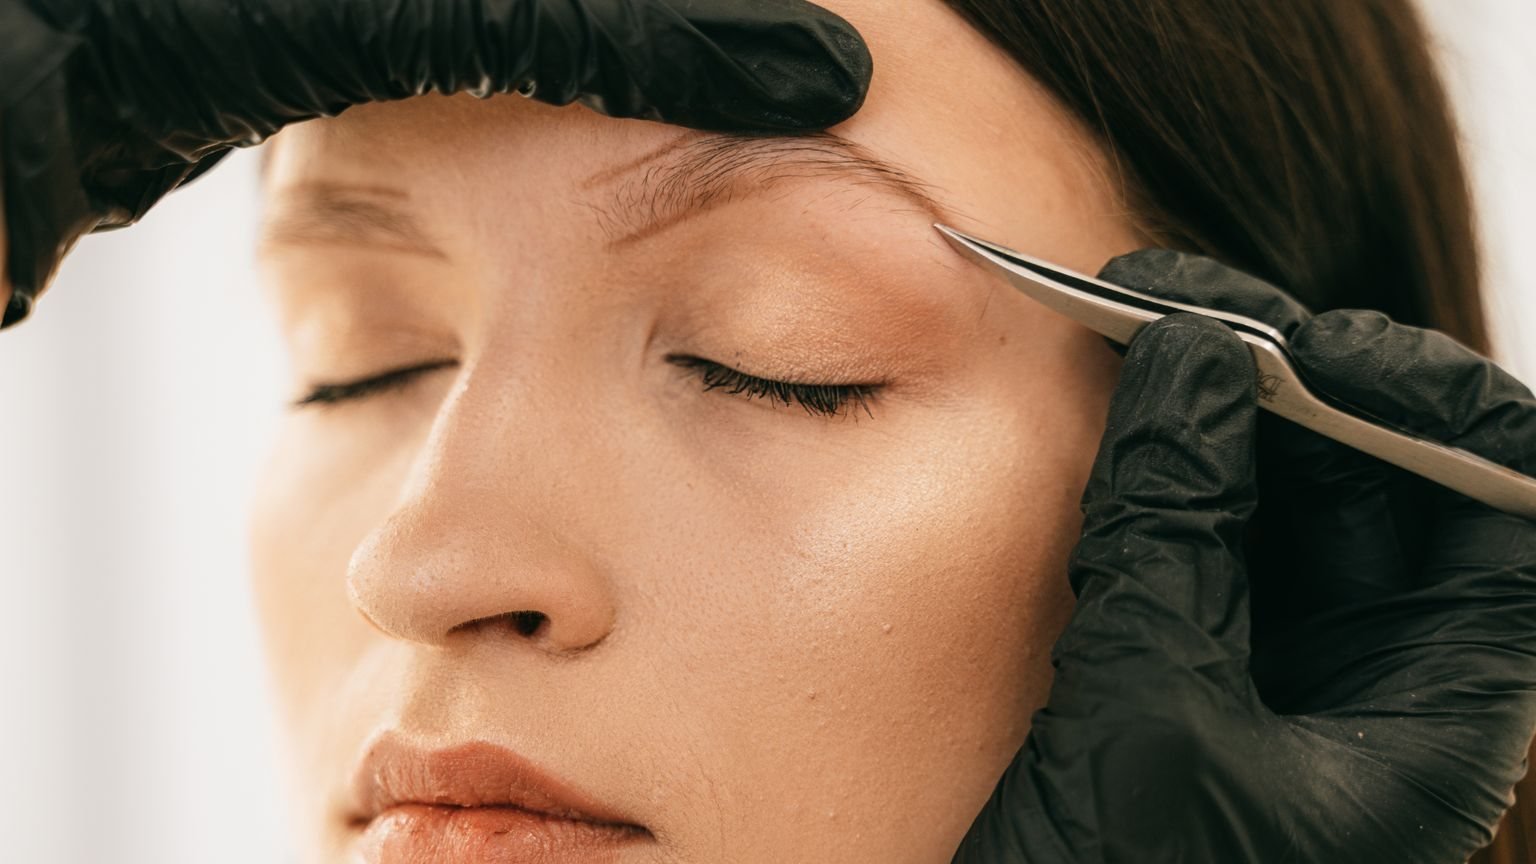
A brow stamp is fastest when you need broad, repeatable coverage; brow gel is better for controlling existing hair; pencil gives the most precise correction on bare skin. The stamp is not automatically easier. Its success depends on finding a stencil that already overlaps your natural front, arch, and tail.
This stamp on brows guide treats speed as one criterion, not the final verdict; believable shape and easy correction matter just as much.
Stamp On Brows Guide
Stamp On Brows Guide: What the Tool Actually Does
Stamp-on brows use a reusable stencil and a sponge applicator loaded with powder or pomade. The stencil controls the outer silhouette. The stamp deposits color over both hair and skin. A spoolie or angled brush then softens and corrects the result.
That makes a stamp a coverage tool, not a hair-hold tool. It can make sparse areas appear denser, but it does not direct wiry hairs or create individual strokes. If your brow shape is already good and the hairs simply fall down, brow gel is the cleaner solution.
The central lesson in this stamp on brows guide is simple: a stencil repeats a shape efficiently, but it cannot decide whether that shape belongs on your face. You still need to judge length, arch position, thickness, and shade.
Brow Stamp vs. Gel vs. Pencil: Key Differences
| Tool | Best job | Control | Main risk |
|---|---|---|---|
| Brow stamp | Fast shape and broad skin coverage | Medium after practice | A uniform, stencil-like block |
| Brow gel | Holding, tinting, and separating hair | High on existing hair | Cannot rebuild large bare areas |
| Pencil | Gaps, tails, edges, and asymmetry | Highest | Heavy lines or longer application |
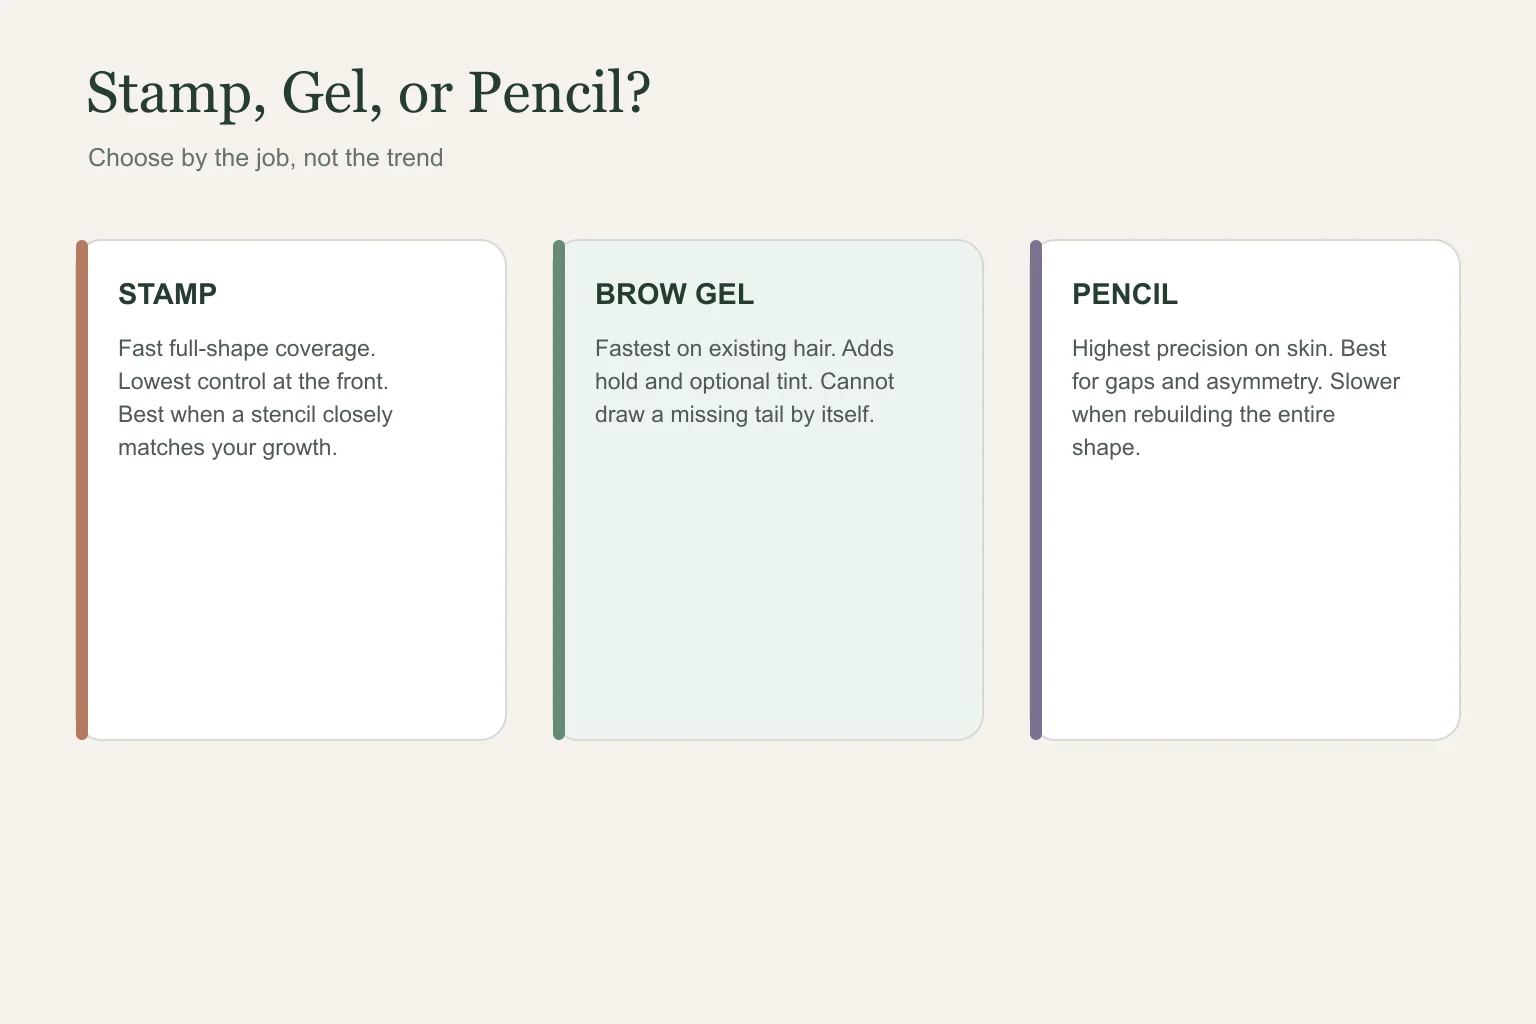
The stamp on brows guide comparison changes when the goal changes: judge shape on bare skin, hold on brow hair, and correction control at the edges.
For near-hairless brows, a stamp creates a quick base but may look flat at close range. Pencil adds directional strokes. For full but unruly brows, a stamp adds unnecessary skin pigment while clear gel solves the actual problem. For uneven sparse brows, the most forgiving routine is stamp lightly, refine with pencil, then set only the hair with gel.
Try the tools on separate brows before choosing
A useful comparison does not require a full-day product test. On clean skin, use the stamp on one brow and your normal pencil or gel routine on the other. Set a timer, photograph both sides in window light, then check them again from normal conversation distance. The faster side is not automatically the better side.
Score four things from one to five: time, symmetry, close-up realism, and correction effort. A stamp that saves two minutes but needs a cotton swab, pencil, and concealer to fix its edges did not really save two minutes. A pencil routine that takes longer but looks convincing without cleanup may remain the better daily option.
Repeat the trial once after learning the tail-to-front method below. This keeps the stamp on brows guide fair: it separates a poor first attempt from a stencil that genuinely does not fit. If the second attempt still places pigment outside your natural growth, stop trying to make that stencil work.
How to Use a Brow Stamp Step by Step
For this stamp on brows guide method, the first pass should look slightly too soft. You can add pigment after checking the shape; removing a dark block is slower.
- Start dry. Remove skincare and foundation from the brow area so the pigment lands evenly.
- Choose by overlap. Test several stencils without product. Select the one that covers the greatest amount of your real brow.
- Unload the applicator. Press excess pigment onto a tissue. A lighter first pass is easier to build than erase.
- Anchor two points. Hold the stencil firmly near the arch and tail. Do not stretch the skin.
- Tap from tail to front. Build the tail first, then use the remaining pigment at the inner brow.
- Lift straight away. Avoid sliding the stencil across the skin.
- Blend before setting. Use a clean spoolie to soften the front and move color through the hair.
- Correct selectively. Add pencil only to missing edges or gaps. Finish with a thin layer of gel if hairs need hold.
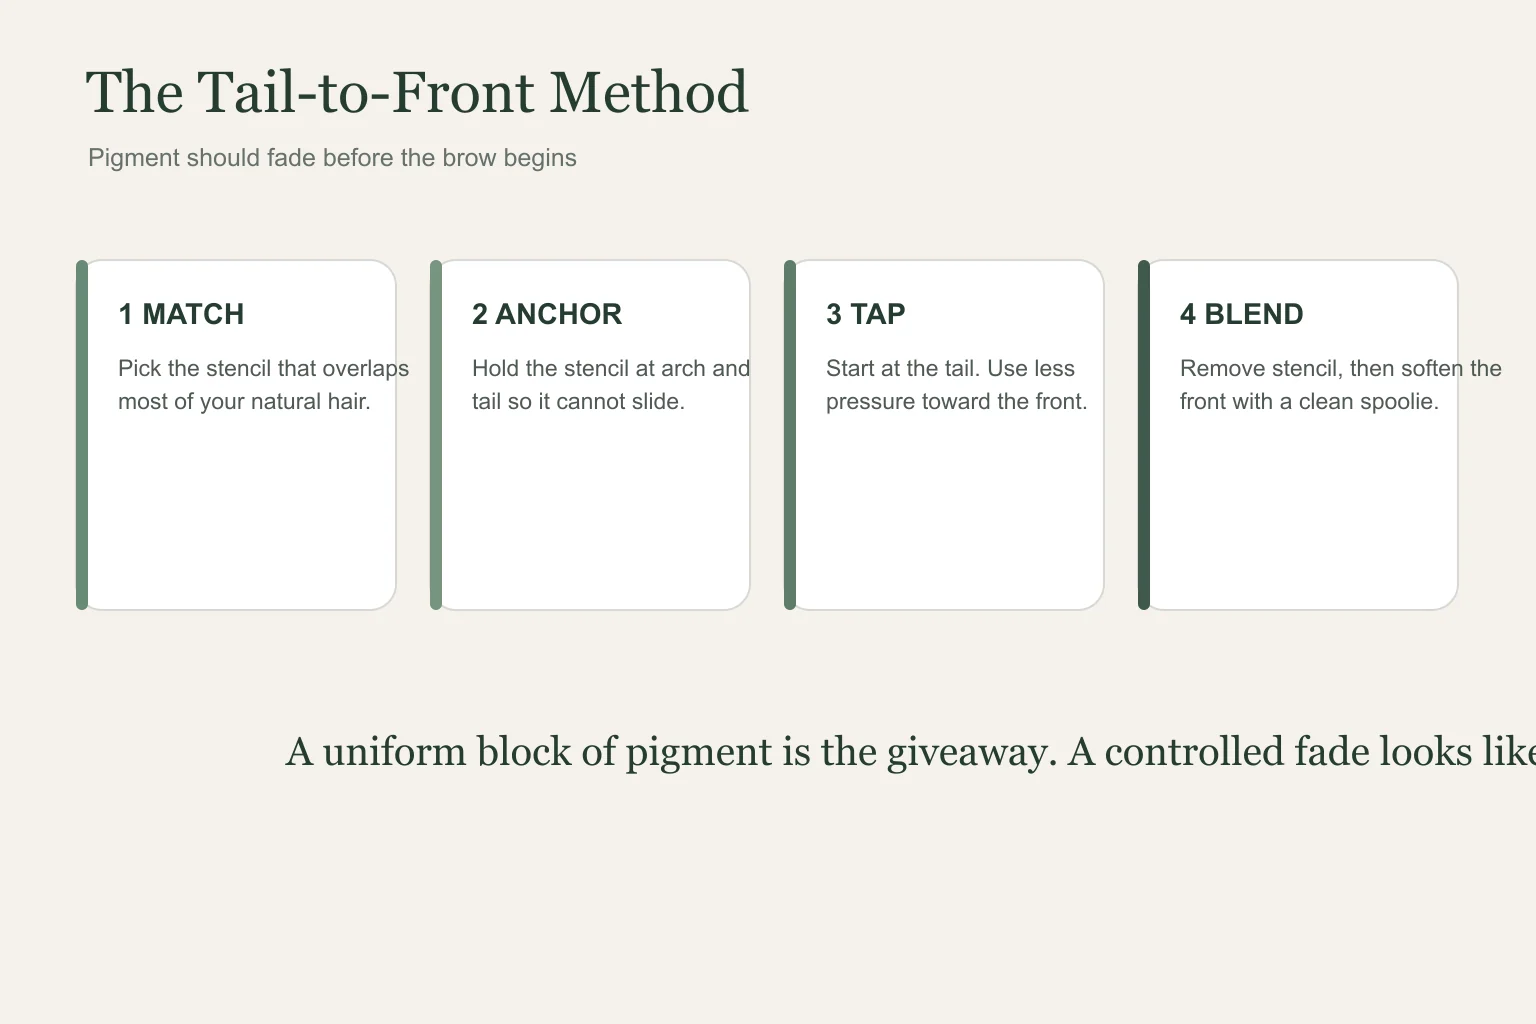
Madluvv’s current tutorial likewise recommends stamping from the tail toward the front and finishing with a spoolie. That is brand guidance, not an independent wear test, but the technique is mechanically sound because it keeps the strongest pigment away from the inner brow.
Choosing the Right Brow Stamp Shape
Ignore the stencil name and check three landmarks: front, arch, and tail. The front should begin near your natural hair. The arch should sit over your actual highest point. The tail should follow your brow bone rather than floating above it.
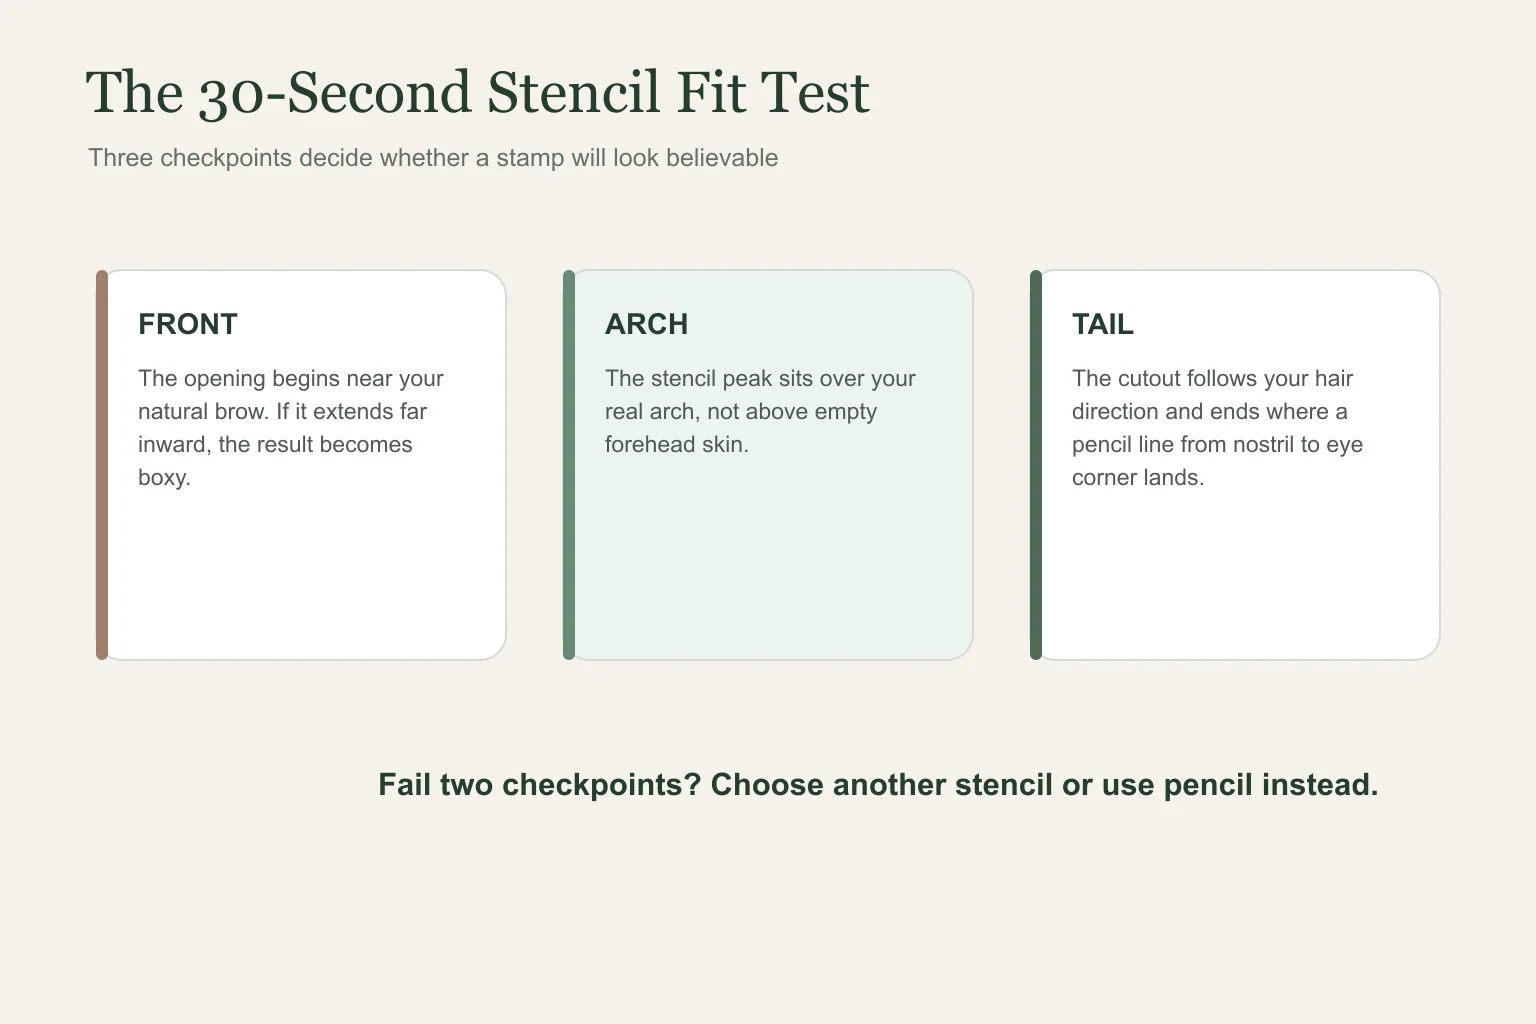
Do not remove natural hair simply to force it into a fashionable cutout. Our eyebrow shapes guide explains how to map the front, arch, and tail before changing the silhouette. A straight stencil on a naturally high arch can leave pigment below the hair and bare skin above it.
This stamp on brows guide also recommends comparing both sides before applying color. Natural asymmetry is normal. Place the same stencil over each brow and choose the position that requires the least correction, not the position that promises mathematical twins.
Best Brow Stamp Kits to Compare
These are research-based comparisons of current specifications, not claims that we personally tested every kit. Product pages change, so confirm the shade, stencil count, ingredients, and return terms before buying.
The stamp on brows guide shortlist favors meaningful differences—stencil range, shade control, and blending tools—rather than repeating each brand’s speed claim.
- Madluvv Brow Stamp Kit: the current official FAQ lists nine stencils, including petite/thin options, a dual-ended brush and spoolie, and 11 buildable shades. It is the strongest shortlist option when shade range and smaller stencil choices matter.
- iMethod Eyebrow Stamp & Stencil Kit: the official product page lists 20 stencils, pomade, a sponge applicator, and a dual-ended angled brush. It suits someone who wants many shape options at a lower listed price, though more stencils also means more trial and error.
- Bossy Studio & Co Stamp & Stencil Brow Set: the official page lists nine reusable stencils and a duo-color applicator. The two-tone format is useful for creating a lighter front and deeper tail without buying two separate stamps.
Before affiliate links are added, we will request the exact Amazon product and shade variants from you. This stamp on brows guide currently contains no monetized product links.
How to Make Stamped Brows Look Realistic
The realistic finish comes from variation. Real brows are not equally dark from front to tail, and skin does not receive pigment exactly like hair. Use less product than the kit suggests, preserve a soft front, and let a few natural hairs break the perfect outline.
A realistic stamp on brows guide should leave room for imperfection. Perfectly solid borders often reveal the stencil more clearly than slight natural variation does.
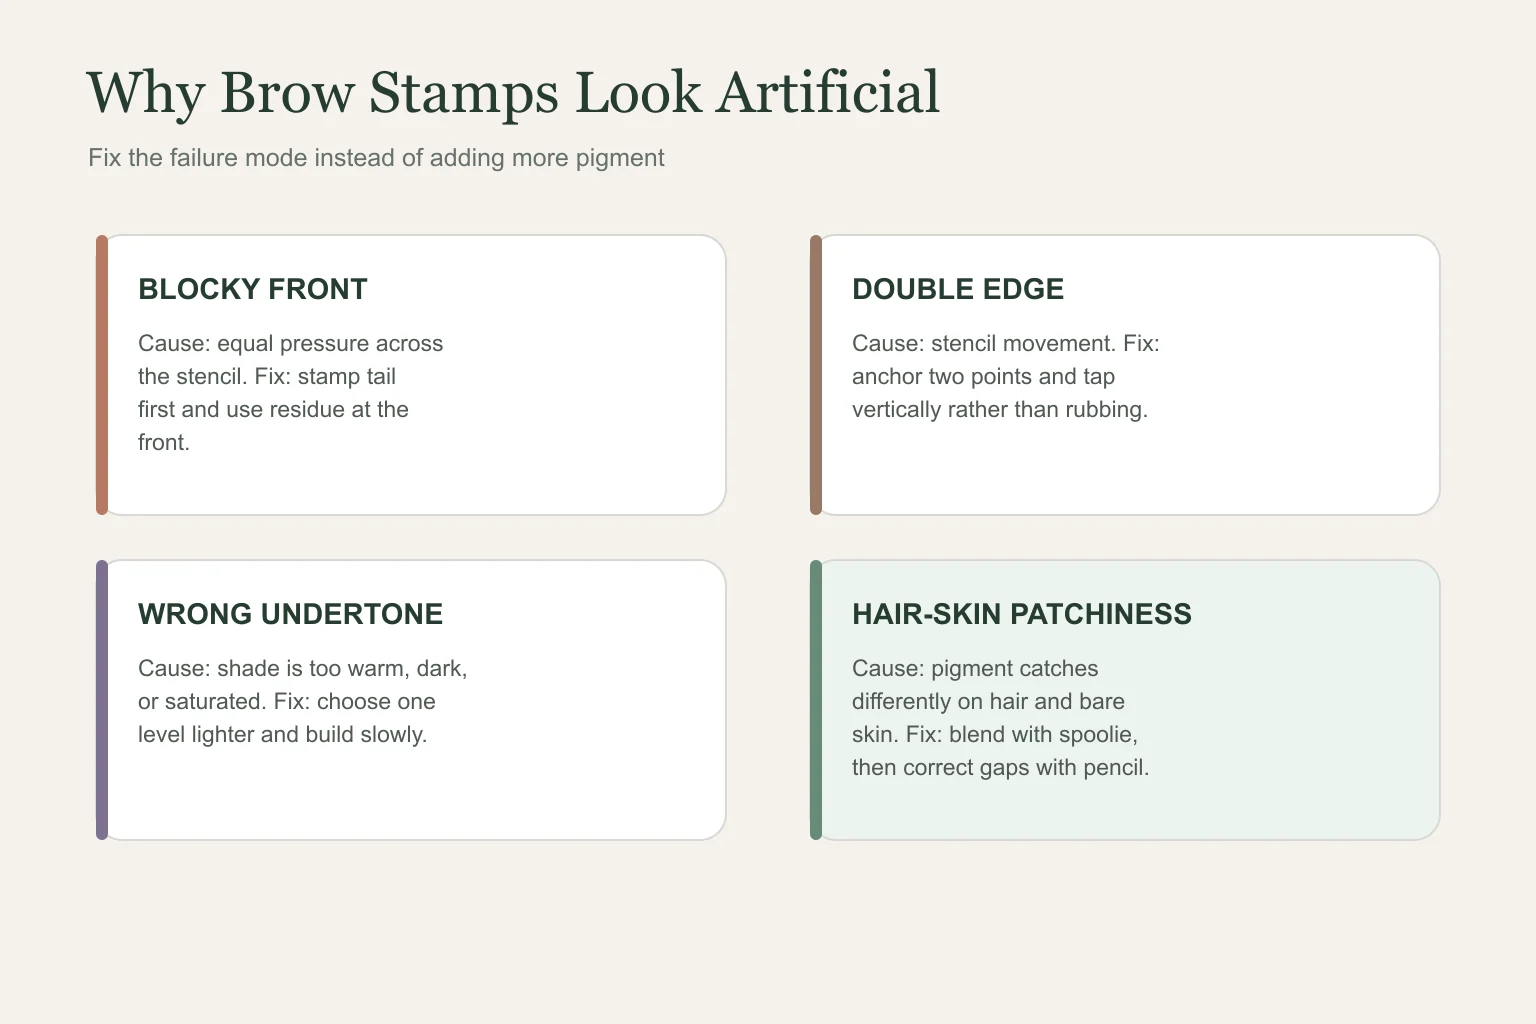
If the front looks square, brush backward once to loosen excess pigment, then comb hair into place. If an edge doubled, clean it with a pointed cotton swab rather than stamping again. If the shade looks harsh, do not cover it with a darker pencil. Remove and restart with less product.
For sparse brows, use pencil to add a few hair-direction strokes after stamping. For dense brows, apply clear brow gel after the color sets. Our beginner brow gel tutorial shows how much product to leave on the spoolie.
When Brow Stamps Work and When They Do Not
Stamps work best for people who want a repeatable shape, have broad sparse areas, struggle with freehand symmetry, or need a larger grip than a fine pencil. They can also serve as a temporary mapping tool while learning where a brow should begin and end.
They work poorly when no included stencil follows the natural brow, when the two brows need different corrections, or when the goal is individual hair strokes. Very oily skin can also make skin-applied pigment fade unevenly; prep and formula matter more than adding another layer.
A stamp can improve speed, but it does not eliminate technique. The most useful conclusion from this stamp on brows guide is not “stamp wins” or “pencil wins.” It is that stamps solve coverage, pencils solve precision, and gel solves hold. Pick the tool that matches the missing function.
Use this stamp on brows guide as a diagnostic rather than a rulebook. If your routine needs two formats, that is not failure. It is often the shortest route to believable coverage and controlled hair.
Frequently Asked Questions
These stamp on brows guide answers cover the practical questions that matter before buying or changing your routine.
Do brow stamps look natural?
They can when the stencil follows existing growth, the shade matches the brow undertone, and pressure fades toward the front. A hard, equally pigmented press usually looks artificial.
Is a brow stamp better than brow gel?
Neither is universally better. A stamp colors skin and creates a silhouette. Brow gel controls and tints hair. Sparse brows may benefit from both.
Is a brow stamp good for beginners?
It can simplify shape, but beginners still need to test stencils, control pressure, and blend. Pencil is slower but allows easier small corrections.
Can a brow stamp work with no eyebrow hair?
It can place pigment on bare skin, but the result may look flat. A few pencil strokes and careful shade selection add dimension. Follow product warnings on sensitive or irritated skin.
How do I keep the stencil from moving?
Anchor it at two points, keep the skin relaxed, and tap vertically. Rubbing or stretching creates doubled edges when the stencil returns to position.
Should I apply brow gel before or after stamping?
Apply the stamp to clean, dry skin first. Blend and correct it, then use a thin gel layer on the hair. Wet gel underneath can make pigment catch unevenly.
Use this stamp on brows guide whenever a kit promises instant symmetry: check stencil fit first, apply less pigment than expected, and choose gel or pencil when they solve the job more precisely.
Editorial note: Product specifications were checked against current official brand pages. We have not represented brand claims as independent testing, and no affiliate links were added.